
If at any point you run into problems, contact us through the Support Portal or call us at 315-633-4240 Ext 2.
Connecting to the Hosting Service
We created this wizard to guide you through the steps involved in telling your computer how to connect with the Hosting Service. It's generally a one-time process that involves deciding which method you want to use and then following a brief series of steps.
Click on the icon below that represents the type of device you want to connect to the Hosting Service:

Windows

macOS

Mobile Devices
How to connect your Windows device to the Hosting Service:
Here’s the method we suggest for downloading the software you need to connect your Windows device to the Hosting Service. You only have to follow these steps once for each device. From that point on you'll just click an icon on your computer’s desktop to access ClinicTracker.
Most users prefer to connect to the Hosting Service with the Remote Desktop method we just showed you.
For what it’s worth, there are two other methods you can also use interchangeably – one involves logging in using a web browser and the other using what’s called RemoteApp (it makes ClinicTracker look like it’s just another application on your computer, even though our servers are actually hosting the program).
Do you want to learn about the other two methods?
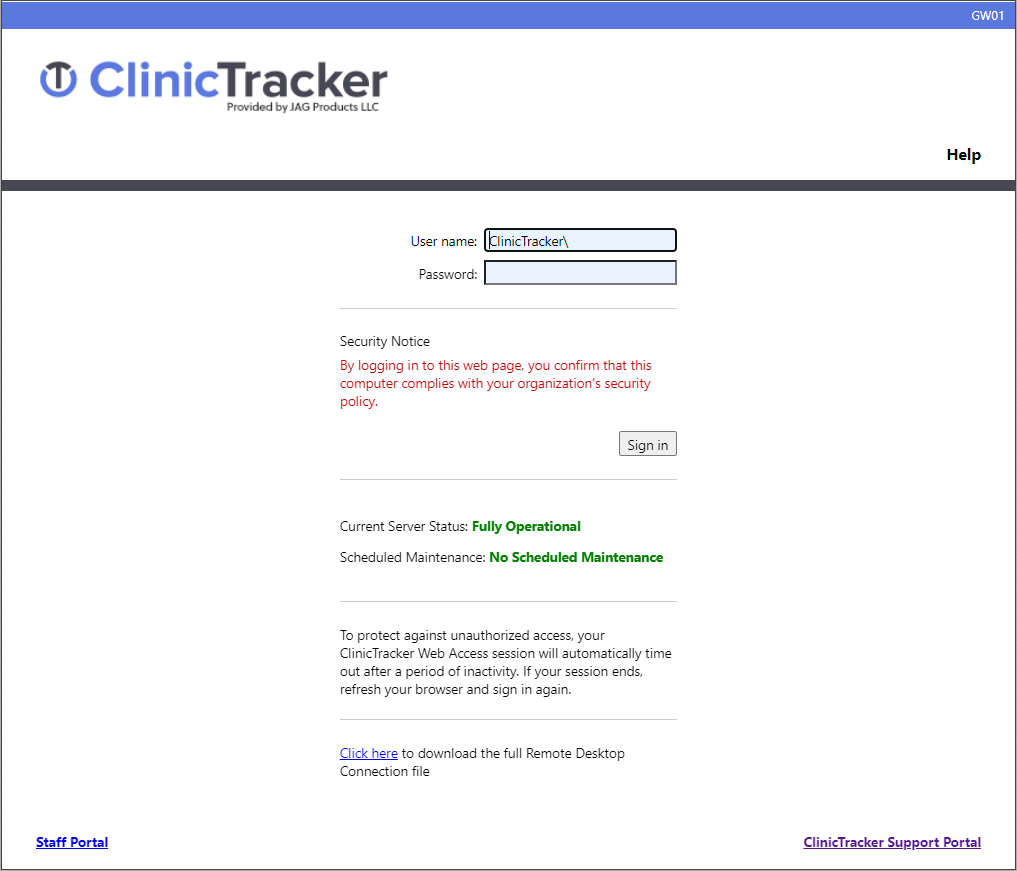
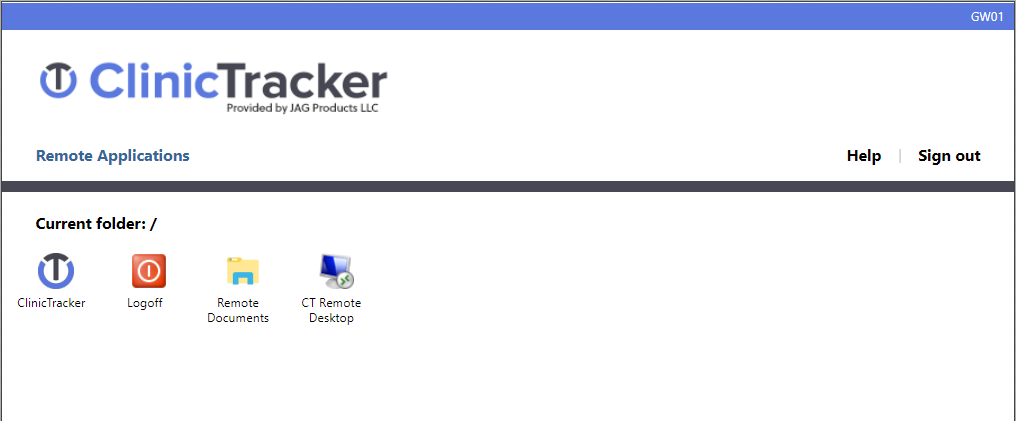
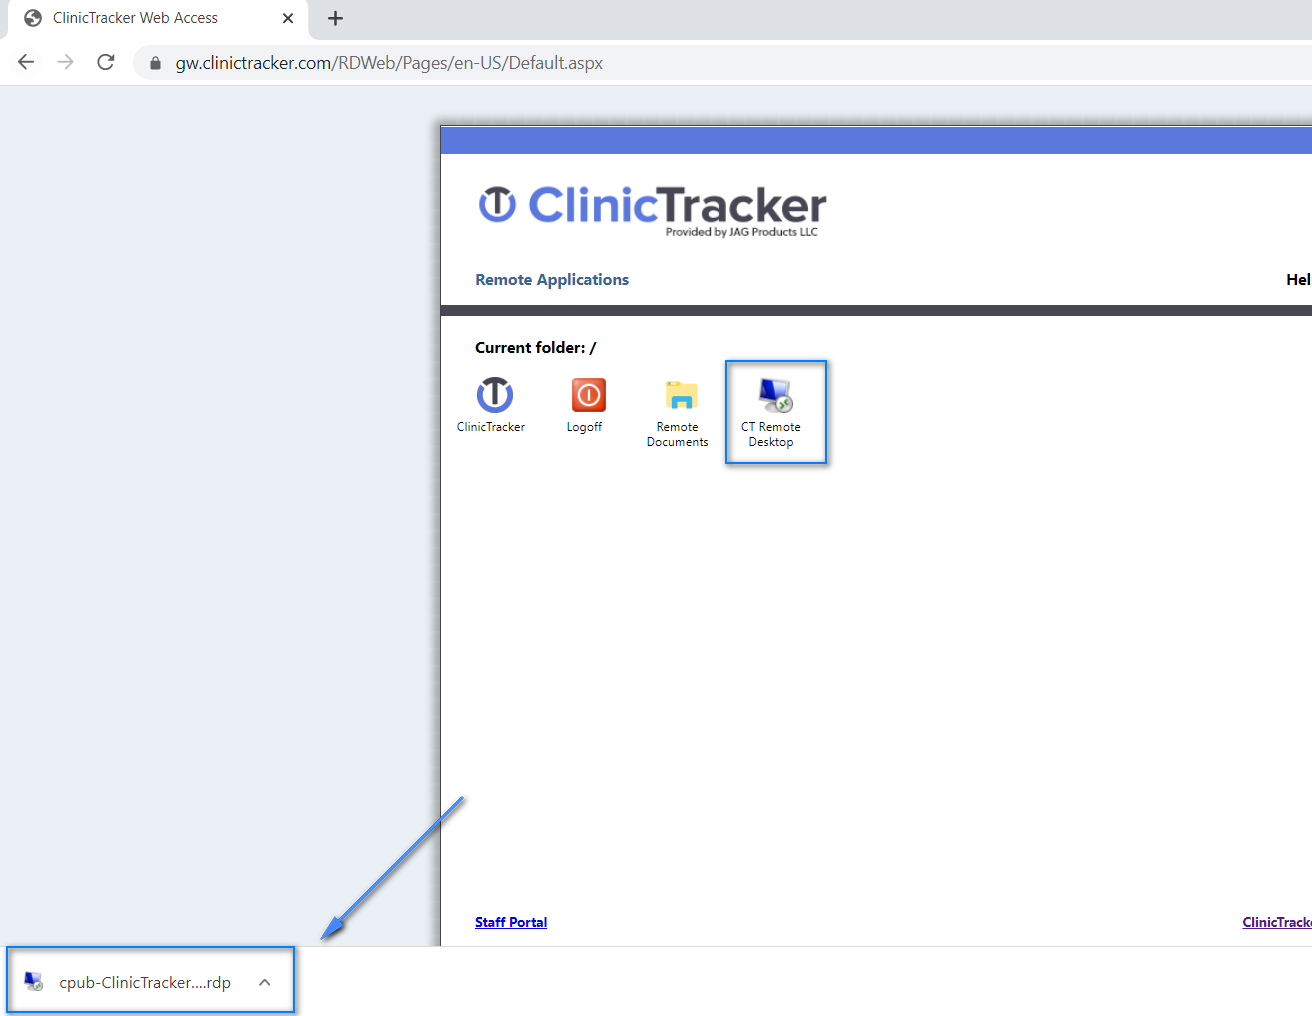
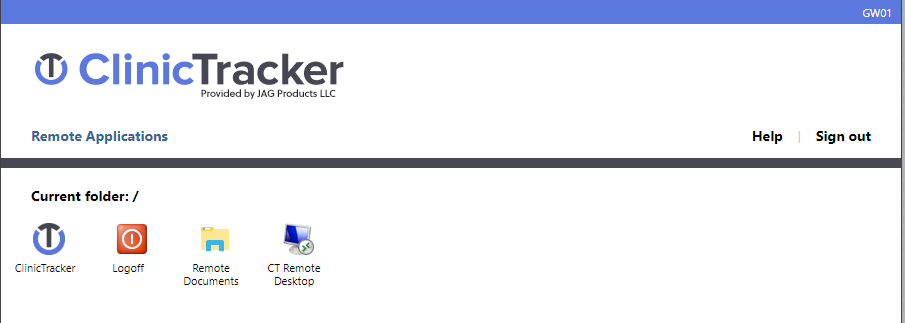
You chose accessing ClinicTracker via the web. Here’s what you should do each time you want to connect:
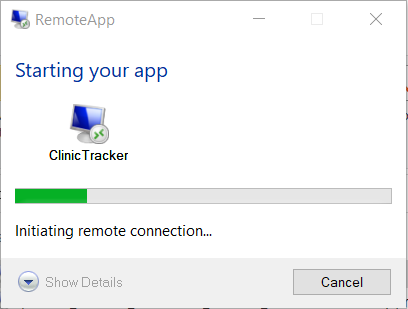
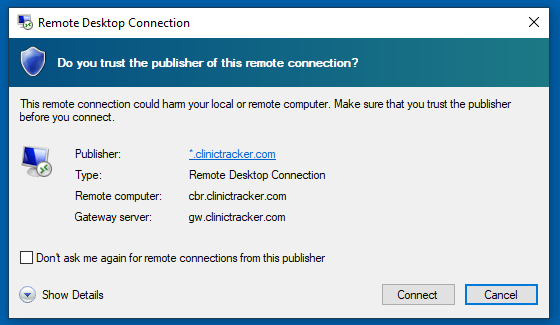
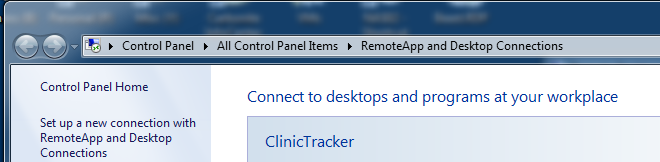
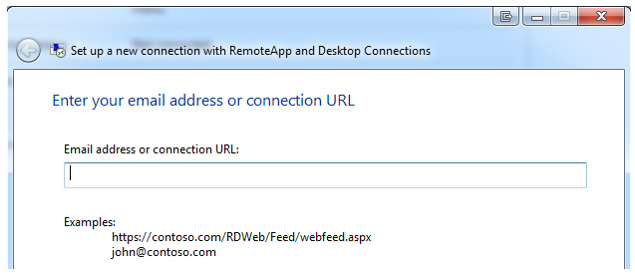
You chose to connect with RemoteApp. This approach, for Windows 7 and above, makes it look like ClinicTracker is just another application, even though the software actually sits on a remote server.
How to connect your macOS device to the Hosting Service:
Here’s the method we suggest for downloading the software you need to connect your macOS device to the Hosting Service. You only have to follow these steps once for each device. From that point on you just need to open the Windows App and click the computer you added to access ClinicTracker.
Go to Apple's App Store and type "Windows App" in the search bar. You’ll want to download the program with this icon:

Follow whatever prompts necessary to fully install the application on your Mac.
Step 2: Configure Full Desktop Experience (PCs) on your Windows AppThis method will create an entirely new Window while working with ClinicTracker. It's the best option if you are working exclusively with ClinicTracker and don’t mind it consuming your entire screen (or if you have multiple monitors so you can put the ClinicTracker desktop on one screen and your local desktop on the other).


Type/paste this address into the PC name field: hostingrdp.clinictracker.com


Step 3: Access ClinicTracker
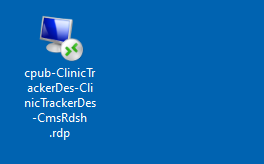
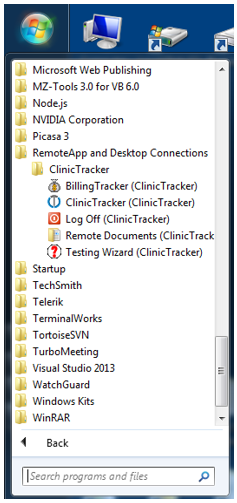
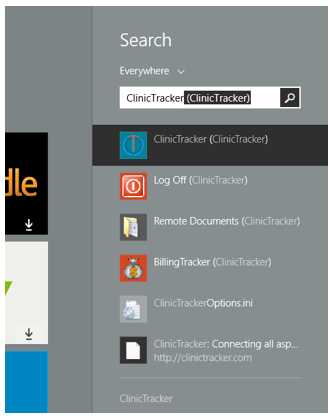
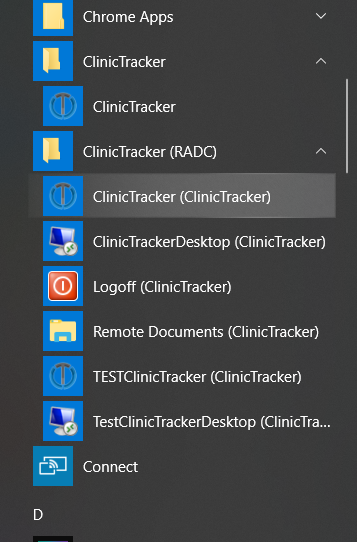
From now on, when you want to connect to ClinicTracker, simply click on the icon that looks like this:

Most users prefer to connect to the Hosting Service with the Full Desktop (PCs) method we just showed you. For what it’s worth, you could also connect using the RemoteApp (Workspace) method.
Do you want to learn about this other method?
You chose to connect via the RemoteApp (Workspaces).
This option will make ClinicTracker look like it’s just another application on your device, even though our servers are actually hosting the program. Choose this option if you feel more comfortable having ClinicTracker look like a locally-installed program. You might find this approach preferable if you want to swap back and forth between ClinicTracker and other applications.
Step 1: Download the Windows App
Go to Apple's App Store and type "Windows App" in the search bar. You’ll want to download the program with this logo:

Follow whatever prompts are necessary to fully install the application on your Mac.
Step 2: Click on the Remote Desktop icon and then on the plus sign choose Add Workspace.

Step 3: On the following screen enter: hosting.clinictracker.com

Step 4: You should see the following screen appear:

Step 5: For Credentials, click on Add User Account and enter the username (it's in the form: ClinicTracker\ClinicCode_UserName) and password that were provided to you by your system administrator. You could also use the “Friendly Name” field, which gives you a way to identify the name of this connection. For example "ClinicTracker Credentials". Once entered, you can click the “Add” button.
Step 6: You should see the RemoteApp configured and an entry that looks as follows. Click to log in to the RemoteApp.

How to connect your iPad/Tablet/Chromebook/Smartphone to the Hosting Service:
Here’s the method we suggest for downloading the software you need to connect your mobile device to the Hosting Service. You only have to follow these steps once for each device. From that point on you’ll just need to open the Windows App and click the resource you added to access ClinicTracker.
Step 1: Download the Windows App
Go to your device's App Store and type "Windows App" in the search bar. You’ll want to download the program with this logo:
 Follow whatever prompts necessary to fully install the program on your device.
This method will create an entirely new window while working with ClinicTracker. It's the best option if you are working exclusively with ClinicTracker and don’t mind it consuming your entire screen (or if you have multiple monitors, so you can put the ClinicTracker desktop on one screen and your local desktop on the other).


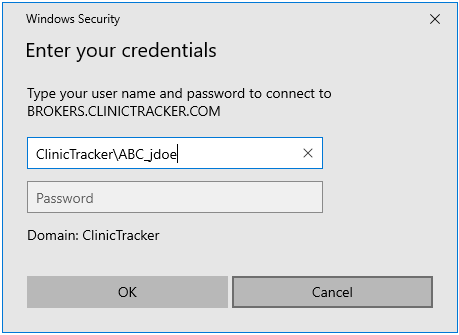
Now enter your username (it's in the form: ClinicTracker\ClinicCode_UserName) and your password. These are credentials you should have received in an email. If you don’t have that information, you can only get it from your administrator. Our ClinicTracker support team does not have access to those credentials.


Step 3: Access ClinicTracker
From now on, when you want to connect to ClinicTracker, simply click on the icon that looks like this:

Most users prefer to connect to the Hosting Service with the Full Desktop (PCs) method we just showed you. For what it’s worth, you could also connect using the RemoteApp (Workspace) method.
Do you want to learn about this other method?
RemoteApp (Workspaces)
This option will make ClinicTracker look like it’s just another application on your device, even though our servers are actually hosting the program. Choose this option if you feel more comfortable having ClinicTracker look like a locally-installed program. You might find this approach preferable if you want to swap back and forth between ClinicTracker and other applications
Step 1: Download the Windows App
Go to your device's App Store and type "Windows App" in the search bar. You’ll want to download the program with this logo:
Follow whatever prompts necessary to fully install the program on your device.
Step 2: Open the Windows App, click on the plus sign, then choose the Add Workspace option.

Step 3: On the next screen enter: hosting.clinictracker.com. It should be able search for the associated workspace and present you with the below screen.

Step 4: For Credentials, click on Add User Account and enter the username (it's in the form: ClinicTracker\ClinicCode_UserName) and password that were provided to you by your system administrator. You could also use the “Friendly Name” field, which gives you a way to identify the name of this connection. For example "ClinicTracker Credentials". Once entered, you can click the “Add” button.
Step 7: You should see the RemoteApp configured and an entry that looks as follows. Click to log in to the RemoteApp.
